Introduction: Sometimes, even the best-fitting ski boots can cause discomfort due to pressure points. Fortunately, with the right tools and techniques, you can customize your ski boots to completely alleviate these issues and achieve a perfect comfortable fit. In this guide, we’ll walk you through the process of punching your ski boots to make them fit better and enhance your comfort on the slopes.
Materials Needed:
Step 1: Identify Pressure Points Put on your ski boots by marking any pain points on your feet with chalk or a marker, remove your ski boot liners, create a cardboard shim or foam pad equal the thickness of your ski boot liner, insert the shim and then put your foot in the boot touching the pressure point on the shell. Repeat if the mark isn’t clear.
Step 2: Heat the Boots to the appropriate temperature for the brand of boots you have, the temperature varies slightly by brand. Most ski boot plastics become pliable at temperatures around 160-180°F (70-80°C). Heat your boots gradually alternating between the inside and outside, it’s better to not heat your boots enough rather than overheat them, you can always try again if you underheat, once you overheat the damage can’t be undone.
Step 3: Place the punch on the problem area and apply the clamp, keep the clamp on the shell and allow the boot to fully cool to room temperature.
Step 4: Re-insert your boot liner and test the fit. Walk around and flex your feet to ensure there are no remaining pressure points or discomfort. If necessary, repeat the punching process until you achieve a perfectly comfortable fit.
Conclusion: Punching ski boots can be an effective way to customize the fit and alleviate any discomfort caused by pressure points. By following these step-by-step instructions and exercising caution, you can achieve a customized fit that enhances your comfort and performance on the slopes. If you’re unsure about any aspect of the process, feel free to contact us for advice, we’re happy to help you achieve a perfect fit.

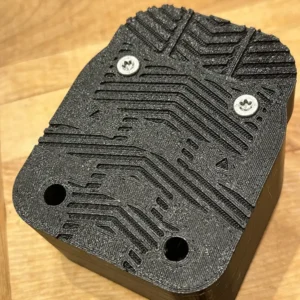
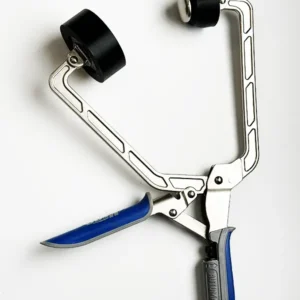 Ski Boot Punch Tool $31.95 – $100.00
 Helly Hansen Sogn Ski Pants Mens $205.00